The unsung heroes of the robotics and automation industry are servo motors. They give life to our automated creations with their accurate control of angular position. However, what would happen if you had to synchronize the control of several servo motors? The 16-Channel PWM Servo Motor Driver I2C Module is useful in this situation. We'll go over how to install and utilize this flexible module for your upcoming servo-controlled project in this tutorial.
What is a 16-Channel PWM Servo Motor Driver I2C Module?

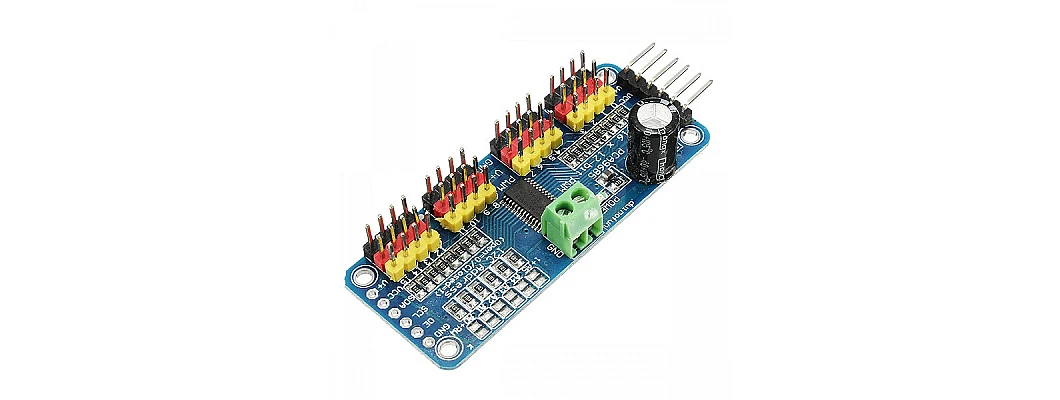
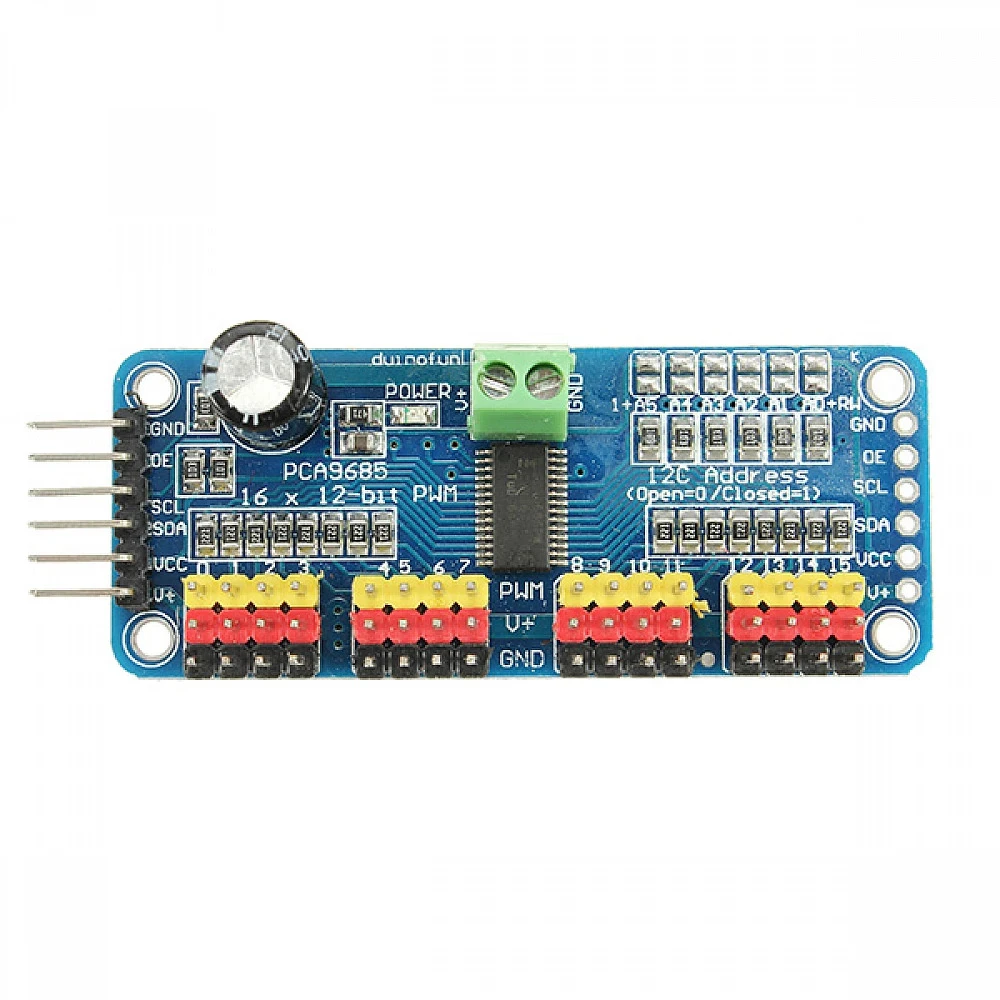
Up to 16 servo motors can be controlled simultaneously by the small but mighty 16-Channel PWM Servo Motor Driver I2C Module. By producing the precise PWM (Pulse Width Modulation) signals required to set the position of each servo motor, it makes servo motor control simpler. It is simple to connect to well-known microcontrollers like Arduino, Raspberry Pi, and others thanks to the I2C communication protocol.
What You'll Need
Before we dive into using the 16-Channel PWM Servo Motor Driver I2C Module, gather the necessary components:
- 16-Channel PWM Servo Motor Driver I2C Module: The heart of our servo control system.
- Arduino or compatible microcontroller: We'll use an Arduino for this guide.
- Servo motors: The number you need depends on your project's requirements.
- Power supply: If your servo motors require more power than the microcontroller can provide, you'll need an external power supply.
Wiring and Setup
-
Connect the Power Supply: If your servo motors demand a higher current than your microcontroller can provide, connect an external power supply to the driver module. Ensure the ground of the external power supply is connected to the ground of the microcontroller.
-
Wire the I2C Connection: Connect the SDA (data) and SCL (clock) pins on the driver module to the corresponding pins on the microcontroller. On an Arduino, these are typically A4 (SDA) and A5 (SCL).
-
Power Up: Power up the system by connecting the microcontroller to your computer via USB and turning on the external power supply, if needed.
Programming Your Microcontroller
To control the servo motors using the 16-Channel PWM Servo Motor Driver I2C Module, we'll need to write code. The Adafruit PWM Servo Driver library is a popular choice for this purpose. Install the library by going to Sketch > Include Library > Manage Libraries and searching for "Adafruit PWM Servo Driver."
Here's a basic Arduino sketch
Two servo motors that are linked to the driver module's channels 0 and 1 are controlled by this example. To control more servos, you can simply add more servo control lines to the loop.
Testing Your Setup
- Upload the Arduino sketch to your board.
- You should see the connected servo motors move back and forth in synchronization.
Applications and Projects
The 16-Channel PWM Servo Motor Driver I2C Module is an ideal solution for a wide range of applications and projects:
- Robotics: Precise control of robotic arms and grippers.
- Home Automation: Automate blinds, curtains, or other home devices.
- Animatronics: Create lifelike movements in animatronic figures.
- Camera Gimbals: Stabilize cameras for smooth footage.
- Art Installations: Add motion to interactive art projects.
- Prototyping: Perfect for prototyping new ideas that involve multiple servo motors.
You can simplify the control of multiple servo motors in your projects and achieve precise movement with ease by using the 16-Channel PWM Servo Motor Driver I2C Module in conjunction with your preferred microcontroller. This module will be a vital resource in your toolbox whether you're building a robot, automating your house, or making an interactive artwork.
Happy servo motor tinkering!


Leave a Comment