02 Jan


Hello,
In this article, we are going to learn more about the seven-segment display. We will also look at the types of seven-segment displays and it's interfacing with Arduino.
Hardware Required
Software Required
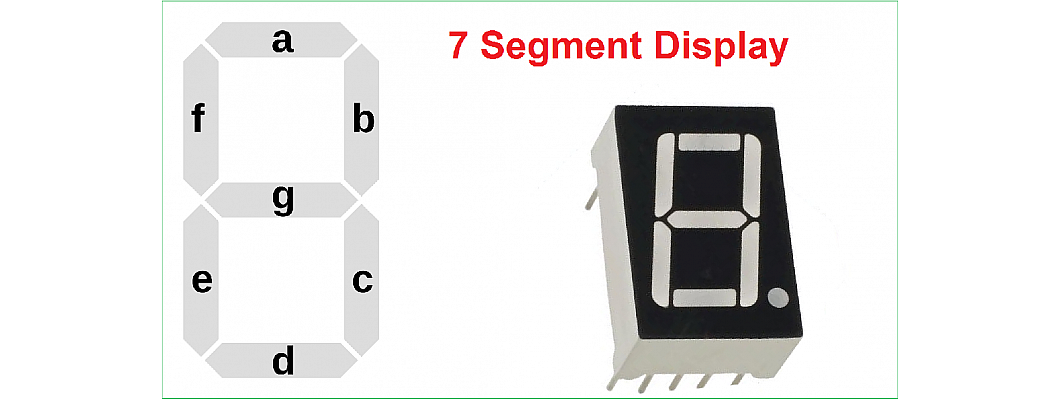
- A 7-segment display, as the name suggests, is the combination of 7 LEDs that make up a segment display. The working of these seven LEDs together might seem complex. But in reality, the working of a seven-segment display is pretty simple.
There are 2 configurations in working of a seven-segment display.
-
Common cathode display.
-
Common anode display.
Types of Displays
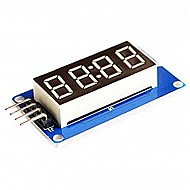
- There are different types of seven-segment displays based on the number of digits or alphabets needed: 1 digit, 2 digit, 3 digit, and 4 digit displays.
- The dot at the end of each LED is for the decimal point.
Common Cathode Display
- As the name suggests, a common cathode configuration is that type of configuration in which all the cathode terminals are connected. All the anode terminals are left open. In this configuration, the cathode is connected to 5V, and anode is connected to the GND.
Common Anode Display
- In this type of configuration, all the anode terminals are connected. All the cathode terminals are left open. Also, during the wiring part, the anode terminals are connected to 5V and the cathode terminals are connected to the GND.
Interfacing with the Arduino board
- There are 7 LEDs inside the display and each LED has its separate GPIO pin. We are using the common anode display in this case.
- So the anode will be connected to the 5V power supply. The other GPIO pins are connected to the Arduino board.
Truth Table for 7 Segment display
- Below you will find the logic code for each digit and alphabet.
Arduino Code
- Below you will find the code for displaying all the digits one by one.
- Upload the code to the Arduino board.
- I hope that you learned something about 7-segment displays and I hope that you enjoyed it. Thank you.


Leave a Comment