Introduction:
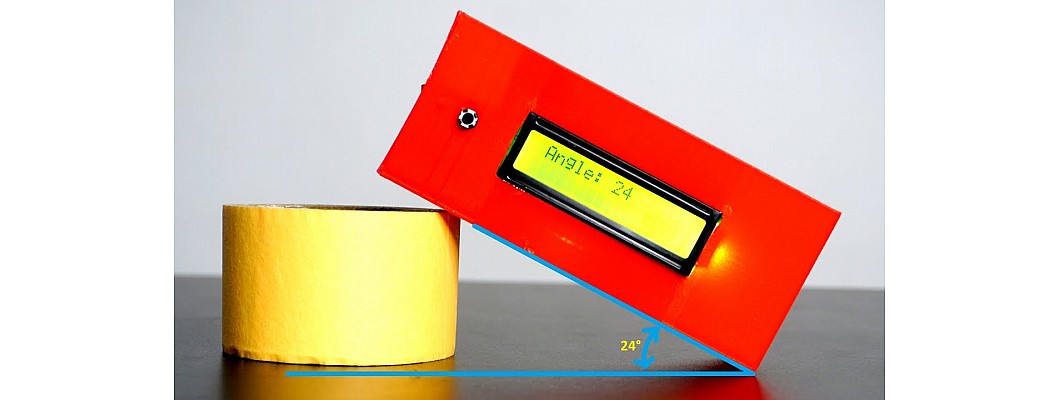
In the world of do-it-yourself electronics, building your own gadgets may be a fulfilling and instructive endeavor. Using an Arduino microcontroller, the MPU6050 gyroscope, and an accelerometer sensor, we'll walk you through the process of making a DIY angle measurement device in this article. In addition to being entertaining, this project offers opportunities for motion tracking, robotics, and other applications.
Materials Required:
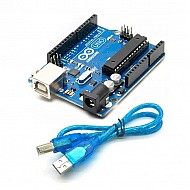
- Arduino Board (e.g., Arduino Uno)
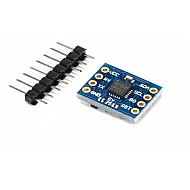
- MPU6050 Gyroscope and Accelerometer module
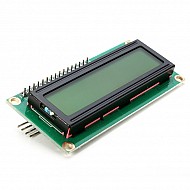
- LiquidCrystal_I2C Display
- Jumper wires
- Breadboard
- Power source (e.g., batteries or USB power)
Step 1: Gather Your Components
Make sure you have all the required components mentioned above. Familiarize yourself with the pin configurations of the MPU6050 and the LiquidCrystal_I2C display.
Step 2: Install Required Libraries
Open your Arduino IDE and install the necessary libraries. Go to "Sketch" -> "Include Library" -> "Manage Libraries" and search for "MPU6050" and "LiquidCrystal_I2C." Install these libraries to ensure your code runs smoothly.
Step 3: Connect the Components
Connect the components on the breadboard according to the following diagram:
- Connect VCC of MPU6050 to 5V on Arduino
- Connect GND of MPU6050 to GND on Arduino
- Connect SDA of MPU6050 to A4 on Arduino
- Connect SCL of MPU6050 to A5 on Arduino
- Connect VCC and GND of the LiquidCrystal_I2C to 5V and GND on Arduino
- Connect SDA and SCL of LiquidCrystal_I2C to A4 and A5 on Arduino
Step 4: Upload the Code to Arduino
Copy and paste the provided Arduino code into your Arduino IDE. This code reads data from the MPU6050 and displays the Z-axis angle on the LiquidCrystal_I2C display. Upload the code to your Arduino board.
Step 5: Power Up and Test
Power up your Arduino, and you should see the Z-axis angle displayed on the LiquidCrystal_I2C display. Tilt the MPU6050, and you should observe real-time changes in the displayed angle.
Conclusion:
Well done! You've successfully used Arduino and the MPU6050 sensor to build a DIY angle measuring device. This study lays the groundwork for investigating more intricate motion detection and control applications. Please feel free to modify this configuration for your larger projects or to experiment with other sensors and display options. Have fun experimenting!


Leave a Comment