Introduction:
There has never been a more important time to secure your house or place of business in this fast evolving technological age. Making a fingerprint door lock with Arduino is one creative way to improve security. This DIY project offers an adaptable and safe access control solution by fusing the strength of biometrics with the adaptability of Arduino. To add an extra layer of security to your space and make your own fingerprint door lock, follow this step-by-step tutorial.
Materials Needed:
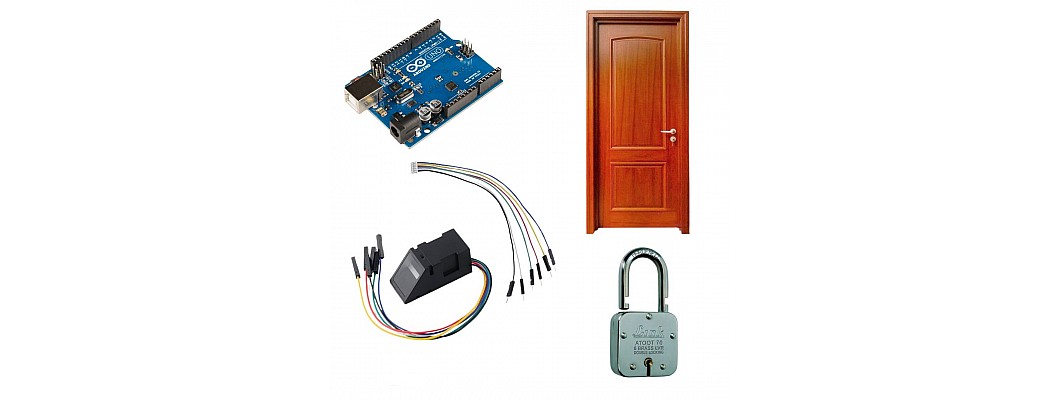
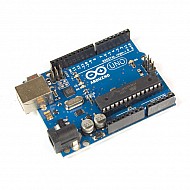
- Arduino board (e.g., Arduino Uno)
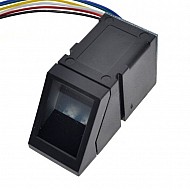
- Fingerprint sensor module (e.g., Adafruit Fingerprint Sensor)
- Servo motor
- Jumper wires
- Breadboard
- 9V battery or power supply
- Solenoid lock or electronic door strike
- Screwdriver and screws
- 3D-printed or pre-made housing (optional)
Step 1: Set Up the Arduino Environment
Firstly, you need to configure your computer to run the Arduino IDE (Integrated Development Environment). Connect your Arduino board to your computer via a USB cable after installing the required drivers for it.
Step 2: Connect the Fingerprint Sensor
Connect the fingerprint sensor to the Arduino using jumper wires. Make sure to follow the pinout diagram provided with your specific sensor module. Typically, the connections include power (VCC and GND) and communication (TX and RX).
Step 3: Connect the Servo Motor
In a similar manner, use jumper wires to link the servo motor and Arduino. Three wires make up the servo: signal (which is typically attached to an Arduino PWM pin), ground (GND), and power (VCC).
Step 4: Upload the Fingerprint Library
Download and install the Adafruit Fingerprint Sensor library in the Arduino IDE. This library simplifies the communication between the Arduino and the fingerprint sensor.
Step 5: Write the Arduino Code
Write a simple Arduino sketch that captures fingerprint data and controls the servo motor to unlock the door. You can find sample codes and tutorials online to guide you through this process. Customize the code based on your specific fingerprint sensor and servo motor models.
Step 6: Connect the Solenoid Lock
If you're using a solenoid lock or electronic door strike, connect it to the Arduino. This component will physically lock and unlock the door.
Step 7: Assemble the Components
Place the fingerprint sensor, servo motor, and any other components inside a secure housing. This could be a 3D-printed case or any other enclosure that fits your design preferences.
Step 8: Mount the System on Your Door
Securely mount the assembled components onto your door. Ensure that the fingerprint sensor is easily accessible and that the servo or solenoid lock can operate the door's locking mechanism.
Step 9: Test the Fingerprint Door Lock
Power up your Arduino, upload the code, and test the system. Enroll your fingerprints using the provided functions in your Arduino code. Verify that the door unlocks only when a registered fingerprint is detected.
Conclusion:
Well done! You have effectively used Arduino to create a homemade fingerprint door lock. This project not only makes your space more secure, but it's also a fantastic illustration of how contemporary technology can be used in useful ways. To further enhance the strength and customization of your fingerprint door lock, try experimenting with various features and enhancements. You can experiment with additional improvements based on your tastes and security needs; the provided code snippets are just a place to start.


Leave a Comment