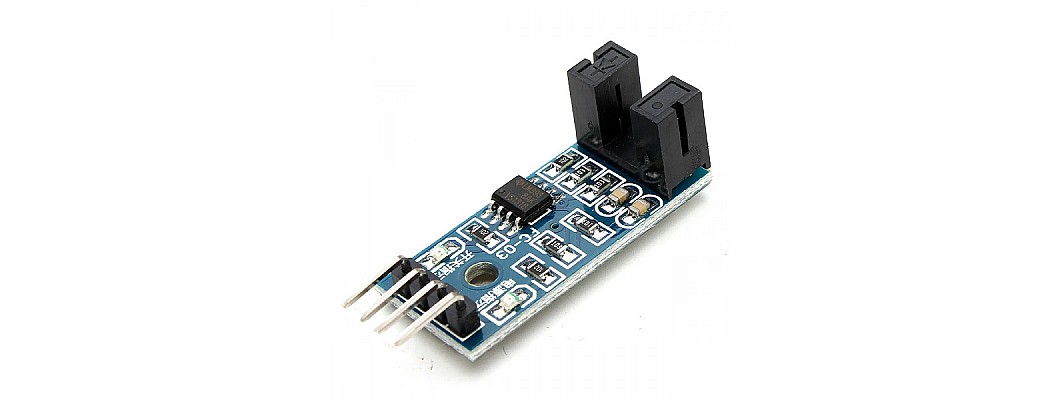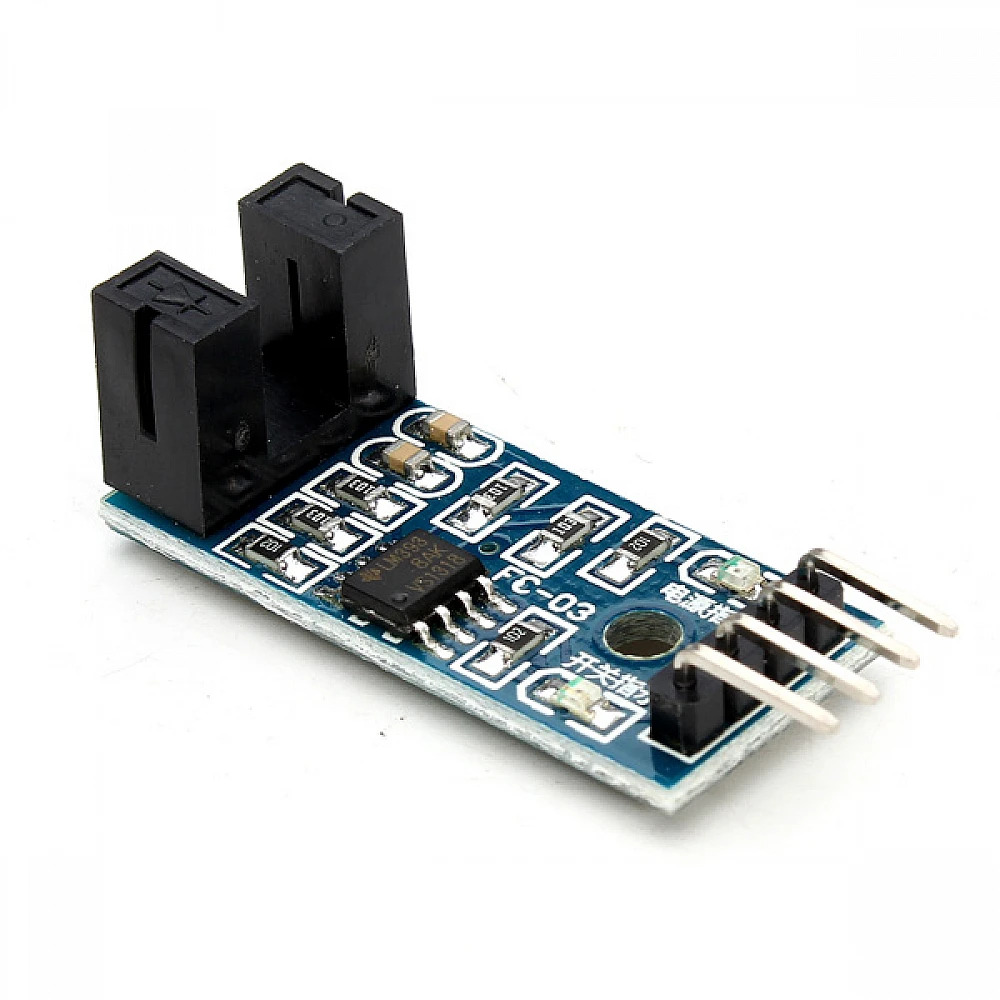
A common prerequisite for many projects, from robotics applications to do-it-yourself tachometers, is speed measurement. This blog post will explain how to measure the speed of an object passing through an optical slot speed measuring sensor using an Arduino.
What You'll Need
Before we get started, make sure you have the following components ready:
- Arduino board (e.g., Arduino Uno)
- Optical slot speed measuring sensor
- Jumper wires
- A rotating object to measure (e.g., a rotating wheel or a motor shaft)
The Optical Slot Speed Sensor

Alternatively referred to as a photoelectric sensor, the optical slot speed sensor operates by identifying breaks in a light beam. The sensor detects a change in light level when an object fits through its slot and blocks light. This modification will be used to gauge the object's speed.
Wiring the Sensor
- Connect the VCC (power) pin of the sensor to the 5V output on your Arduino.
- Connect the GND (ground) pin of the sensor to one of the GND pins on your Arduino.
- Connect the OUT pin of the sensor to a digital input pin on your Arduino (e.g., D2).
Your sensor should now be wired to the Arduino.
Writing the Arduino Code
Now, let's write a simple Arduino sketch to measure the speed of an object. This code will count the number of interruptions within a specific time frame and calculate the speed based on those interruptions. Here's a basic example:
This code counts the interruptions in a 1-second interval and calculates the speed based on that count.
Testing and Adjustments
To see the speed readings, upload the code to your Arduino and launch the Serial Monitor (Tools > Serial Monitor). When you align a rotating object, like a wheel, in front of the sensor, the Serial Monitor will display speed readings.
This can be used as a basis for more complex speed measurement projects, or you can change the code to accommodate different units of measurement and adjust the measurement time.
That's it, too! You've successfully configured an Arduino optical slot speed measuring sensor to gauge an object's speed. This easy project can serve as a basis for a number of applications, such as building your own tachometer or tracking the speed of a conveyor belt.
Happy experimenting!


Leave a Comment