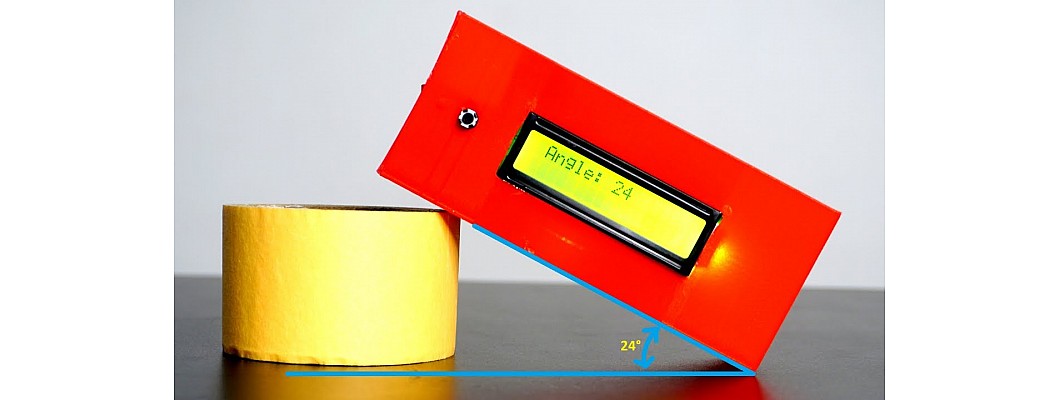
Hardware Required
Software Required
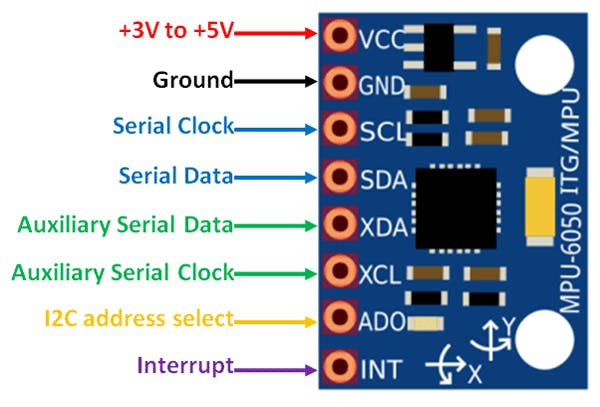
MPU-6050
-
MPU6050
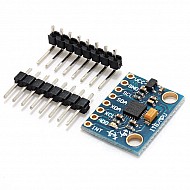
is a 6-axis motion tracking device. It consists of a three-axis accelerometer and a three-axis gyroscope. It helps us to measure velocity, orientation, acceleration, displacement, and other motion-like features.
-
MPU6050 consists of Digital Motion Processor (DMP), which has the property to solve complex calculations.
-
MPU6050 consists of a 16-bit analog to digital converter hardware. Due to this feature, it captures three-dimension motion at the same time.
-
This module uses the I2C module for interfacing with Arduino.
-
MPU6050 is a very economical option in terms of gyroscope and accelerometer and a feasible option to use in many electronics and robotics projects.
Steps
-
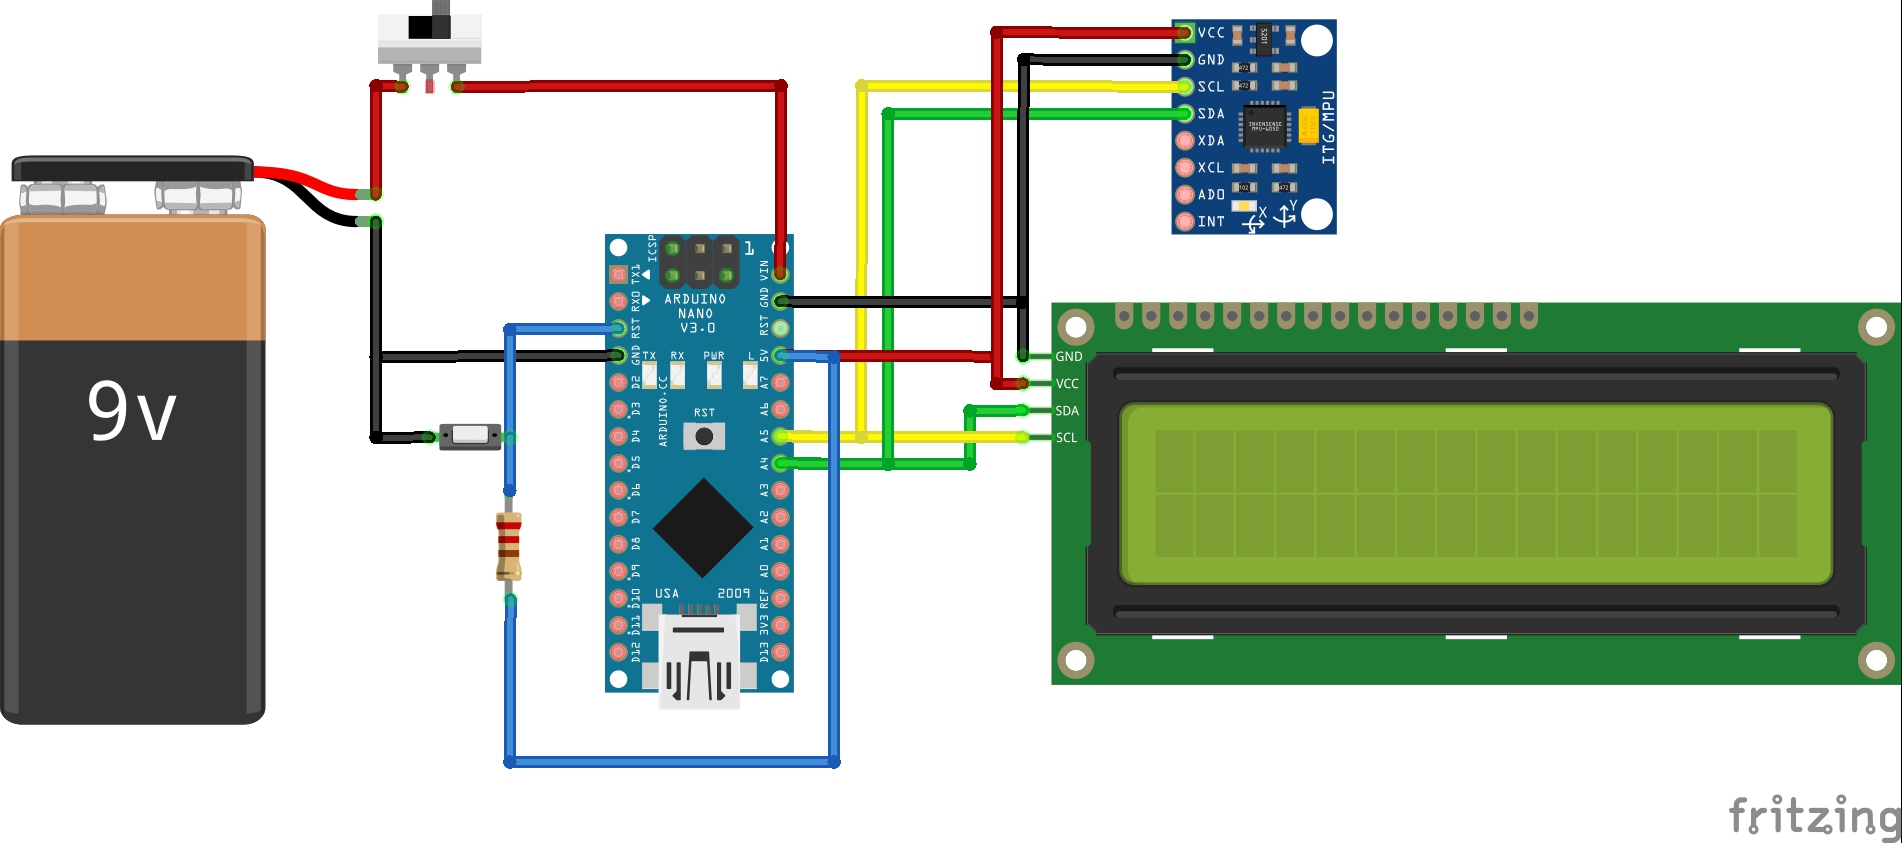
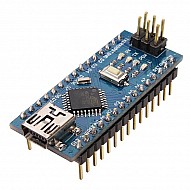
Connect the MPU6050 to the Arduino Nano.
-
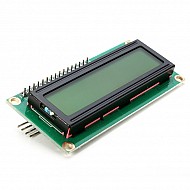
Connect the Arduino Nano to the display.
-
Connect the battery to Arduino via the switch. Also, attach a reset button to the Arduino.
-
The circuit diagram is shown in the figure below.
Pins on Arduino Nano Pins on MPU6050
5V VCC
GND GND
A5 SCL
A4 SDA
Pins on Arduino Nano Pins on I2C Display
5V VCC
GND GND
A4 SDA
A5 SCL
Pins on Arduino nano 9V battery terminal
VIN Positive
GND GND
Configuring the Arduino IDE
-
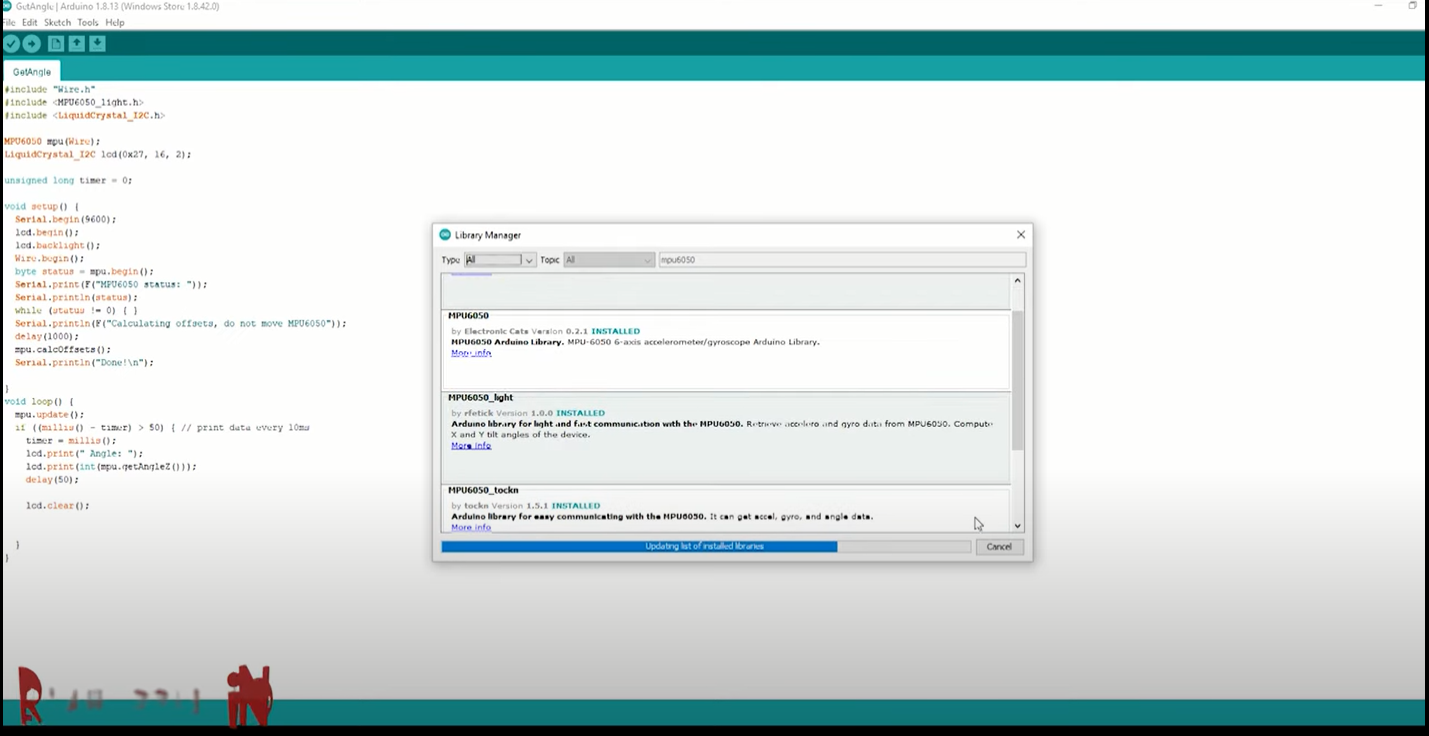
Go to "
Sketch
→
Include Library
→
Manage libraries"
and look for the library "
MPU6050_light
". Install the library.
-
Compile the Arduino Code.
-
Upload the code the Arduino Nano.
3D Printing the case
-
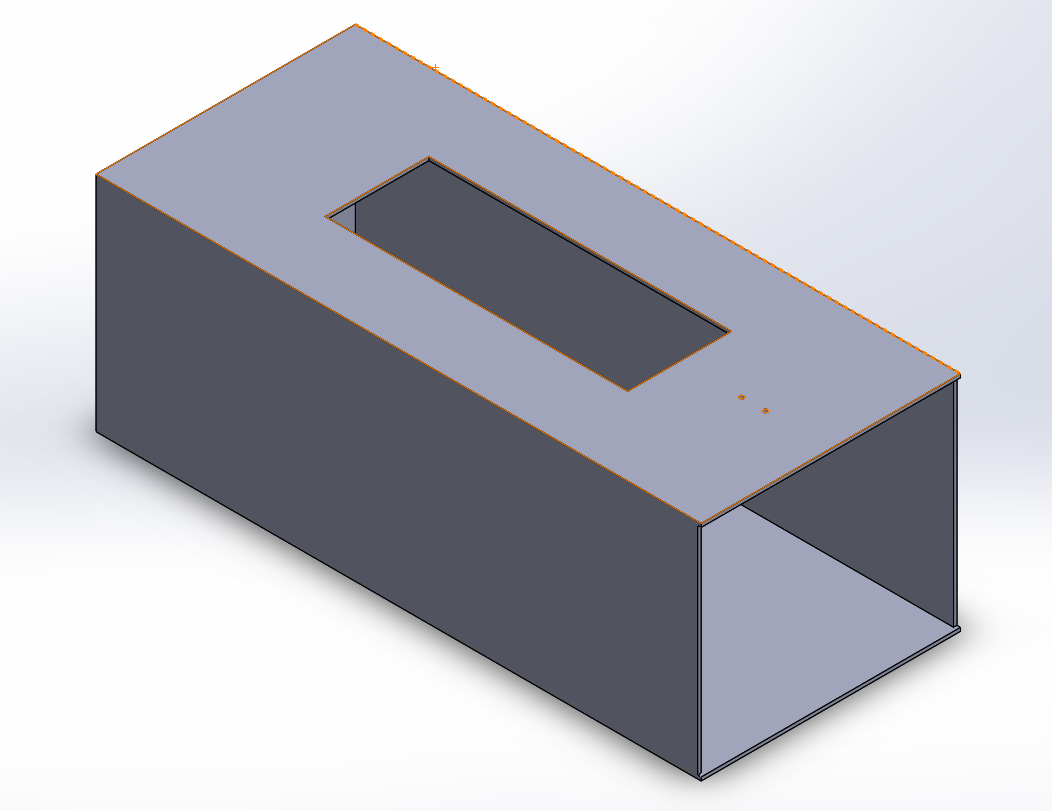
To fit the circuit inside a case, we have used 3d printed case which was design by the Indianlifehacker, and 3d print it. The below photo is a snapshot of the case.
-
Click
here
to download the .stl file for the case
Assemble all the parts. Stick the MPU6050 to the inside wall of the case using double-sided tape and Close the case.
Your Angle measurement device is ready to go!


Leave a Comment