05 Oct

0 Comment(s)
869 View(s)
Hello,
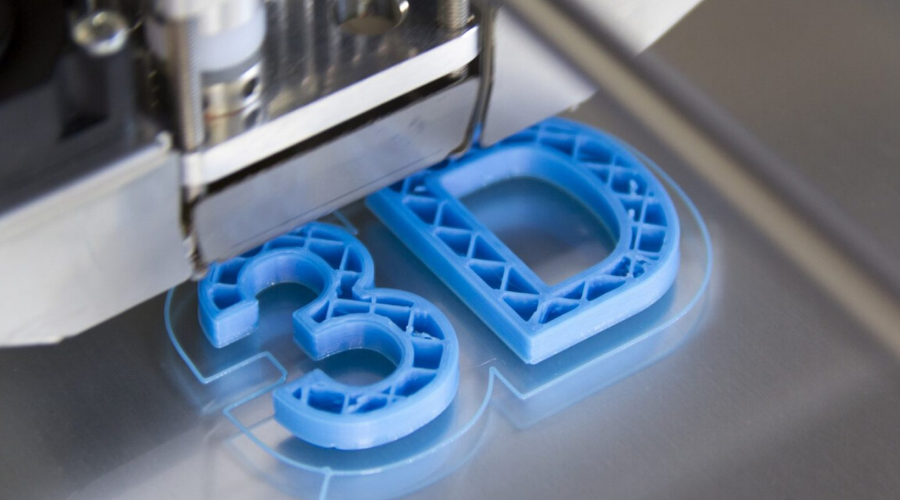
In this article, we are going to talk about the importance of infill in 3D printing and its types.
Infill is the amount of material that occupies the internal part of the piece which is 3D printed. Slicing programs generally allow the percentage of infill to be changed as per the user requirement. Any 3D printed part consists of two important aspects. The exterior wall and the infill. The thickness of the wall can be changed. Whatever exists insides those walls is called the infill.
Even though one does not have much control over the walls besides their thickness, the infill is far more complex and plays an enormous role in the part's strength, weight, structure, buoyancy and more. In 3D printing, you have the flexibility to define various parameters that govern the infill used for an element which makes the infill much more editable. All these infill instructions can be edited in the slicing software like Ultimaker Cura.
The most important parameters while editing the infill are the infill density and the infill pattern.
Infill pattern types
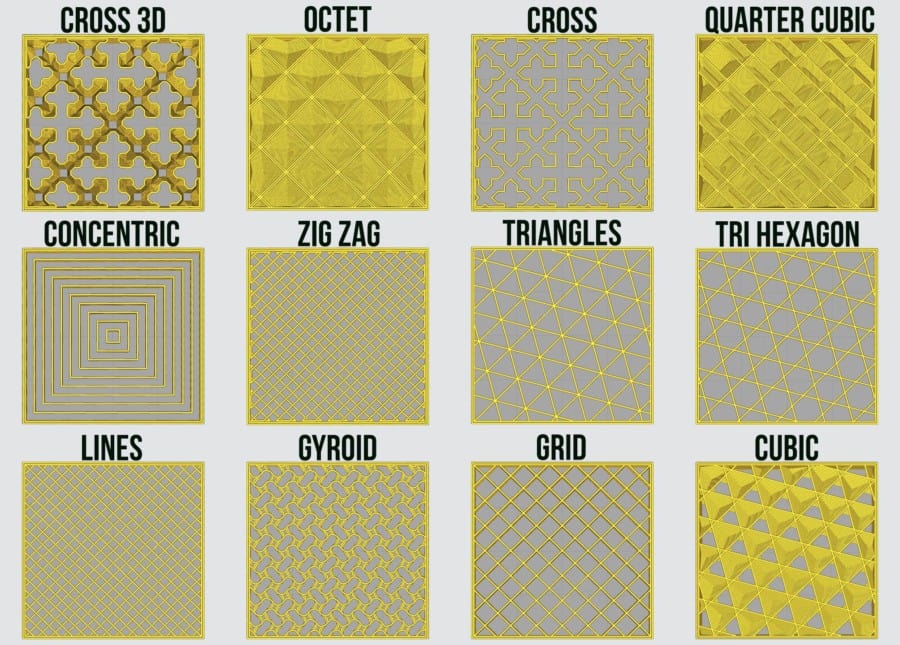
- Lines: This infill pattern contains lines printed in one direction and the lines are parallel to each other. This pattern provides good strength in two precise directions and can be printed quickly. Also the lines do not use excessive materials and that in turn keeps the weight pretty less.
- Grid: The grid infill pattern is similar to that of lines. The only difference is that it contains two dimensional lines in each layer unlike only one dimensional lines in a layer. This infill provides good two dimensional strength. The grid pattern consumes a median amount of fabric and takes longer than the lines pattern to complete.
- Triangle: This pattern is overlapping triangles with the lines stepping in three directions within the XY plane. This infill pattern provides strength in only two dimensions but still gives out good strength in those two directions.
- Honeycomb: As the name suggests, this pattern produces a honeycomb like structure. It gives out semi-fast prints and provides moderate strength for prints that are requires to be printed faster. It shouldn't use excessive material while printing.
- Tri-hexagon: The tri-hexagon infill pattern contains a series of lines in three directions within the XY plane. This creates a hexagonal pattern with triangles in between them. This pattern provides strength in two dimensions and gives great strength.
- Cubic: This pattern, as the name suggests, has stacked cubes in it. But these cubes are tilted at 45 degrees around both X and Y directions. This makes them seem more like triangles. This pattern provides excellent strength in all three dimensions but it take more time to complete and uses excess material for it.
- Octet: This pattern is very similar to the cubic pattern. The only difference is that the octet material uses inclining squares instead of triangles. This pattern not only looks great but also provides good strength in all three dimensions.
- Gyroid: This infill pattern is a very strange one. It includes irregular concave curvatures that cross each other. It is meant to be the perfect combination of strength, material and print time.
- Concentric: This infill pattern consists of lines which are parallel to each other and the exterior wall. They are also concentric as the name suggests. This pattern is great for fast printing and can be used with flexible parts. It also save a lot of excessive materials.
Infill density
Infill density is the fullness of the material inside the exterior walls of the part. In slicing software, this can be changed in the form of percentage from 0% to 100%. 0% being the structure has no infill i.e. it is hollow and 100% being the whole structure is solid. The infill density substantially affects the component's weight. Besides weight, the infill density also affects the print time, buoyancy and material usage. Layer height and strength are also affected by the infill density.
Different density purposes
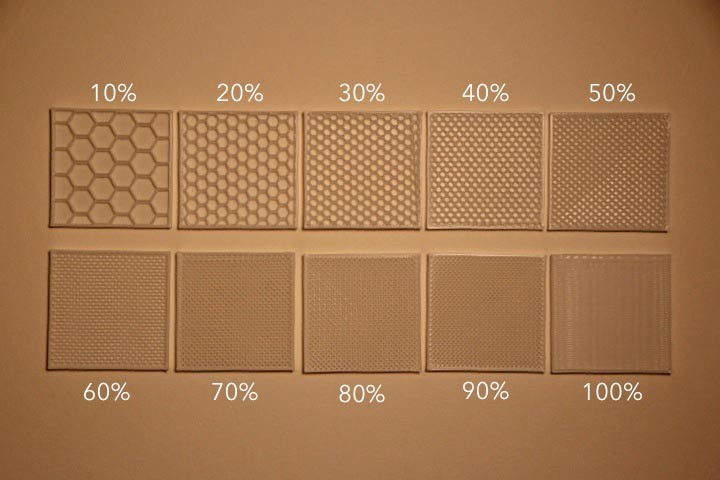

- For normal prints which do not require much strength, infill density of anywhere between 15% and 50% is recommended. This parts of these density do not have much strength but they use less material and print quickly.
- Functional prints must be strong as they have to withstand substantial loads. So it is recommended that the infill must be higher than 50%. Do not hesitate to go to 100% as well. This setting is extremely high and will make the part very strong. But be sure you are ready to use more filament and take more time to print the part. This will make the part stronger and heavier.
- For small figurines, the infill density must be kept between 0-15%. This means the part will be printed very quickly as a result of the infill parameters.
All these features of infill and the exterior can be used to achieve different purposes and designs. I hope you learned something about the aesthetics of the 3D printed parts and I hope you liked it. Thank you.

Leave a Comment