-1060x400h.jpg)
Hello,
In this tutorial-based article, we are going to learn how to make a radar detection system using Arduino.
Working principle of RADAR

-
Radio detection and ranging (RADAR) systems are the systems that use radio waves to determine the speed, position, size, and nature of any object within its reach. It is similar to LiDAR systems. The main difference between those two is that Lidar systems use infrared waves instead of radio waves.
-
Radar systems generally consist of two components: a transmitter and a receiver. The transmitter transmits the radio waves in all directions. If there is any object in the vicinity, then the radio waves will bounce back. When the waves bounce back, a receiver intercepts the bounced back waves. The time taken for the wave to bounce back determines the distance of the object.
-
Radar was developed by the military just before world war 2.
-
Radar output generally comes in two forms: velocity and reflectivity. Reflectivity is a measure of how much moisture exists in a particular area. Velocity is a measure of the speed and direction of the object towards or away from the radar. Most radars can measure reflectivity but you need a doppler radar to measure velocity.
Hardware required
Software required
The working concept of radar detector using Arduino
-
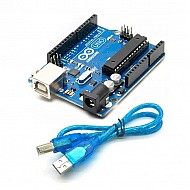
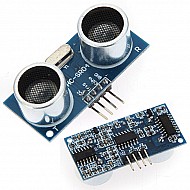
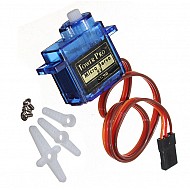
The radar detector has three components: Arduino board, Ultrasonic sensor, and the micro servo SG90.
-
The ultrasonic sensor is mounted on the micro servo so that it can rotate continuously. The ultrasonic sensor simultaneously scans the vicinity and sends the data back to the Arduino board.
-
The Arduino board sends the data to the laptop where in the processing application it will be displayed on the screen.
Circuit Diagram
|
Pins on Arduino Uno |
Pins on Ultrasonic sensor |
|
5V |
VCC |
|
GND |
GND |
|
Pin 10 |
Trig |
|
Pin 11 |
Echo |
|
Pins on Arduino Uno |
Pins on Servo |
|
5V |
Red |
|
GND |
Black |
|
Pin 12 |
Yellow |
Arduino code and application
Firstly, we need to download the processing software from the link given above.
Now we need to upload the respective codes to the Arduino IDE and processing software.
Arduino Code
Upload the code in IDE.
Now connect the Arduino to the laptop. Open the processing Software


Leave a Comment