Hello,
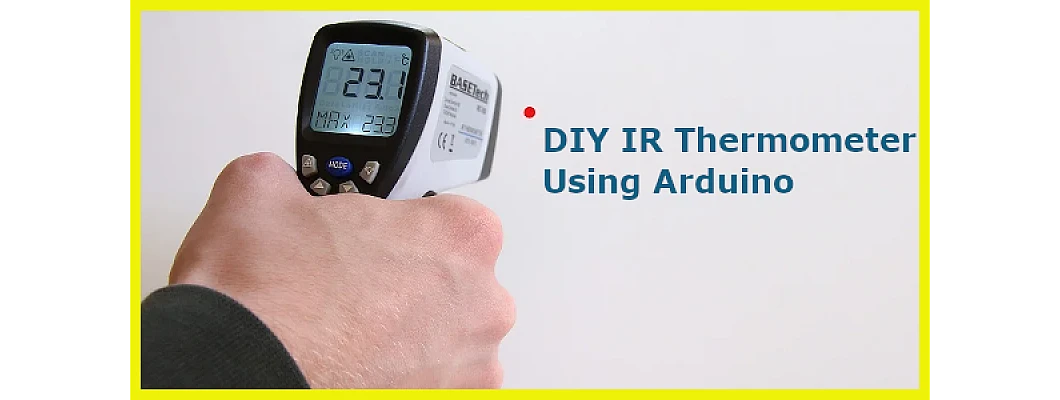
In this tutorial-based article, we are going to learn how to make a Thermometer using Arduino and IR Sensor.
Hardware Required
Software Required
MLX90614 IR Sensor
-
In the previous days, thermometers used to work on the principle of thermistors. The thermometers used to be brought near to the surface where the temperature is to be measured. There is a change in resistance in the material and this change in resistance is used to calculate the temperature which is to be measured.
-
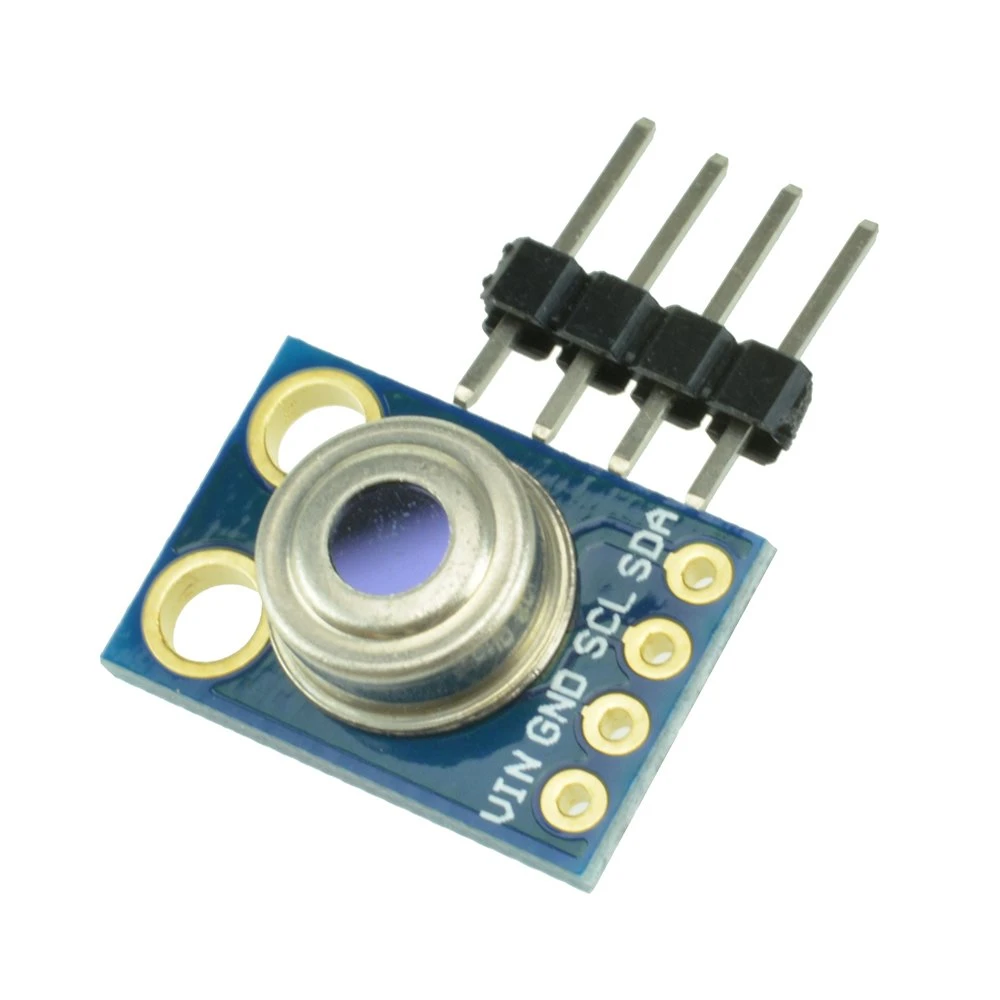
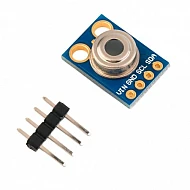
The MLX90614 sensor consists of two different devices. One is the sensing unit which has an infrared thermopile detector. Other is the computational unit which is the signal conditioning unit.
-
The working principle of this sensor is the Stefan-Boltzmann law. This law states that the radiation emitted by any object is directly proportional to the fourth power of the temperature of that object.
-
The sensing unit measures the IR radiation emitted by the object whose temperature is to be measured. Then the IR radiation is converted to the temperature with the help of the computational unit. This data is converted in the form of electric signals and sent to the Arduino board to be read. This sensor uses the I2C protocol for communication and transfer of data with the Arduino.
-
There are 4 pins on the sensor: VCC and GND for power supply, SDA and SCL for data transfer.
Specifications of MLX90614
|
Operating Voltage |
3.6 to 5V |
|
Object temperature range |
-70 degrees to 382 degrees |
|
Ambient temperature range |
-40 degrees to 125 degrees |
|
Resolution/ Precision |
0.02 degrees |
|
Field of view |
80 degrees |
Circuit Diagram
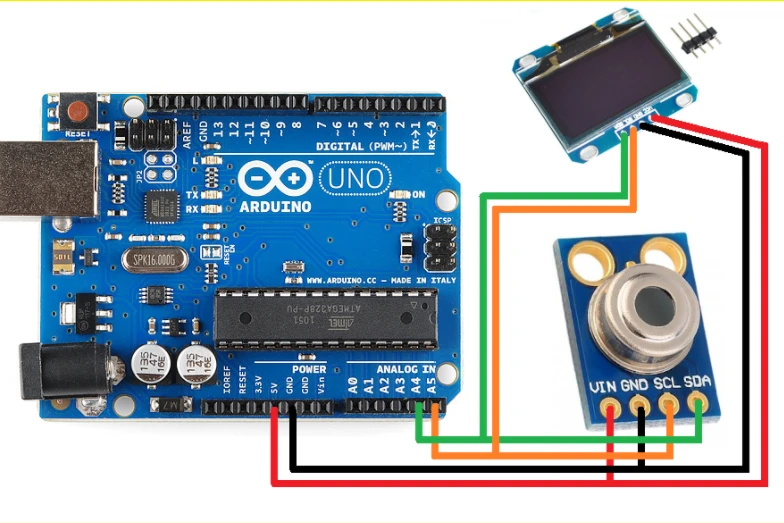
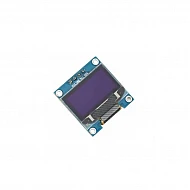
- The circuit diagram for this circuit is pretty simple. The sensor is connected to the Arduino board. Arduino board is further connected to the OLED display to show the temperature to the user.
|
Pins on MLX90614 sensor |
Pins on Arduino Uno |
|
VIN |
5V |
|
GND |
GND |
|
SCL |
A5 |
|
SDA |
A4 |
|
Pins on OLED Display |
Pins on Arduino Uno |
|
VCC |
5V |
|
GND |
GND |
|
SCL |
A5 |
|
SDA |
A4 |
The working concept of the Thermometer
-
The working concept of the IR thermometer consists of four steps.
-
Firstly, the sensing unit of the sensor collects the amount of radiation emitted by the object. This data on radiation is then converted into the temperature by the computational unit.
-
This data is sent to the Arduino board in the form of electrical signals. The Arduino board then sends out the temperature data in the appropriate form to the OLED Display.
-
This data is displayed to the user who then knows the temperature of the object.
-
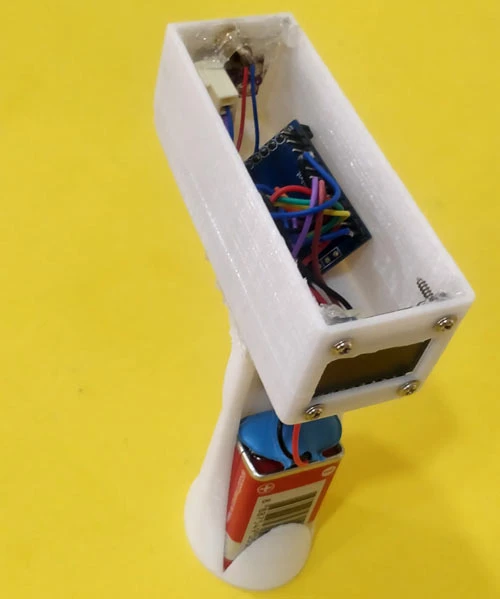
Furthermore, the case for this project can be made entirely by choice. You can use cardboard boxes to make out the case, or you can 3D print the design for the case.
-
We also used a 9V battery to power the thermometer.
Arduino Code
- Upload the code mentioned below. Connect the power supply.




Leave a Comment